How Do You Transplant an Orchid?
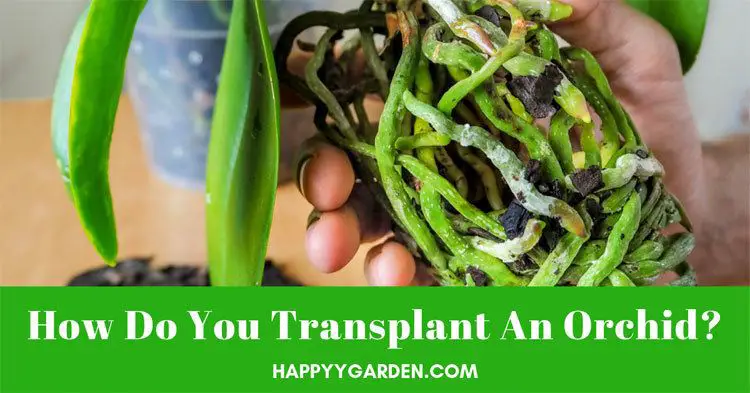
A garden full of flowering orchids is a remarkable sight. It is my daily routine to check my orchids every morning and relax as I walk and peek in every pot there is. I am very meticulous in taking care of my babies. Hence, when I notice that it already has outgrown its pot, I know that it is time to transplant.
See Also
How about you? Do you know how to transplant an orchid? If you love orchids, doing so seems just like any ordinary routine that I usually enjoy doing.
Table of Contents
How Do You Transplant an Orchid?
After a long time, the medium holding your orchids break down and become finer, smaller, and so compact that it is no longer capable of supplying your orchids the nutrition it needs. With the deteriorating condition, the air can no longer circulate the roots effectively. The remaining soil retains water more than before and covers the roots with its moist all the time. When left unattended, the roots will rot, and worse, a fungi disease may grow.
Step 1: Choose the Right time to transplant.
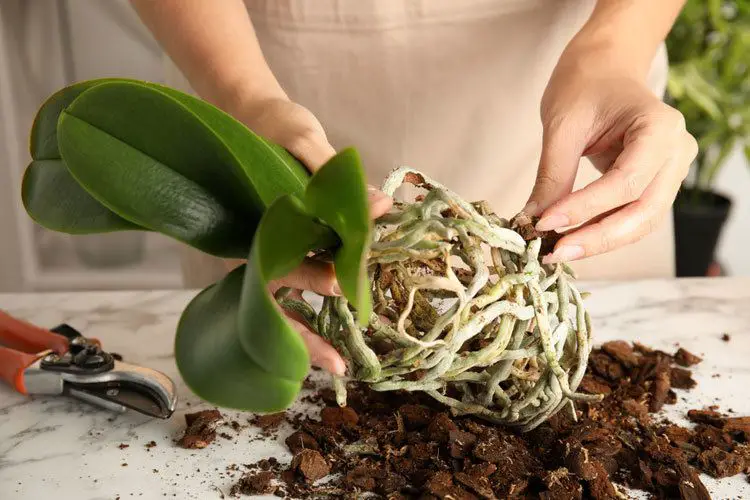
Like a gardener’s rule, orchids transplant must be at least every after a year or two. It is easy to say that the spring season is the best time to transplant the orchids. However, you would know it is the right time to do so when the following situations occur. Keep in mind that you can only transplant the orchids when the following are evident:
Step 2: Pick a suitable pot
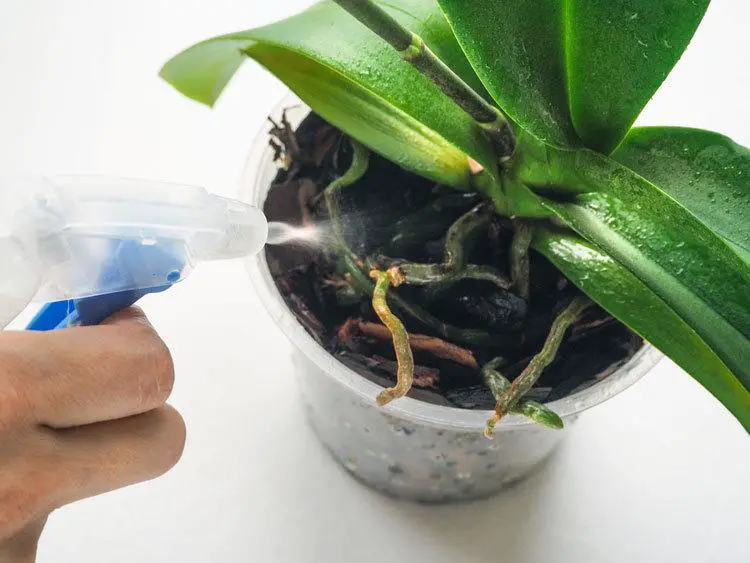
Choosing the best pots for orchids is not that complicated. However, finding the right one is essential. Several choices abound if you have the time to explore. Two important factors in buying pots for orchids are the right size and of course, the drainage holes. Here are some tips to remember:
Step 3: What kind of potting soil is great for orchids?
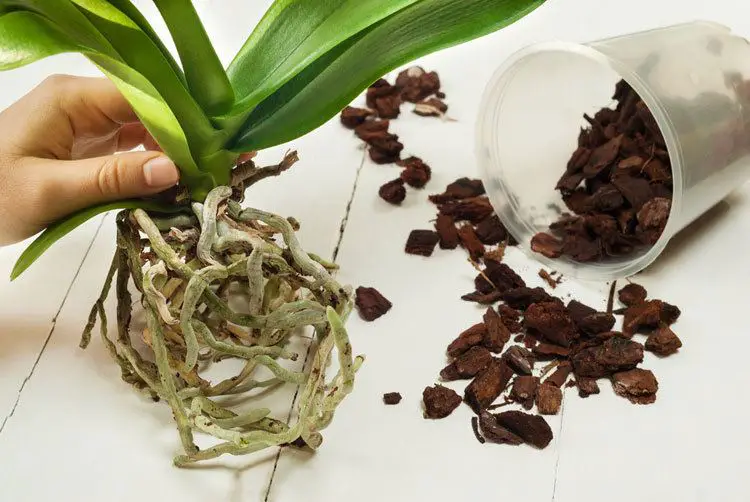
Since these plants are not like any other plant that grows in the ground, choosing the best potting soil for orchids is vital. Orchids grow on trees; therefore, they thrive best on loose soil with chunks of barks, peat moss, perlite, and other mixture of organic matter.
Transplanting an orchid in bark can replicate the natural environment that is ideal for it to grow. An orchid bark mix is a blend of ground fir-tree bark that you can buy from garden centers together with other commercial potting soil. If you are motivated, you can try mixing it yourself.
Step 4: Removing the Orchid from the current pot
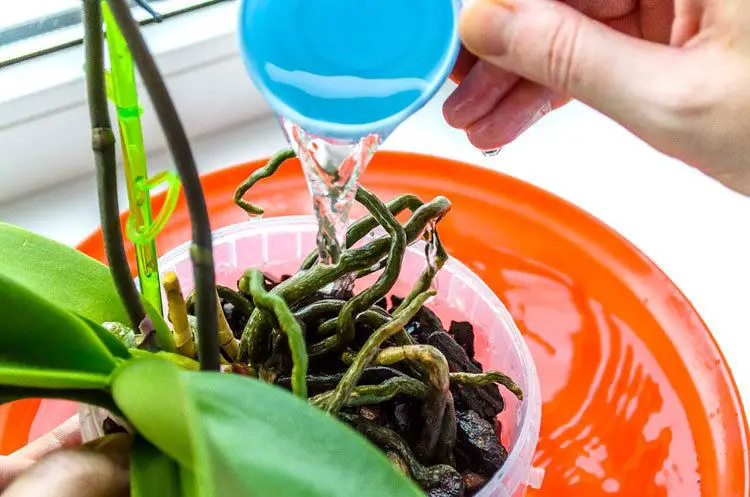
Remember to water your orchids before the transplant just sufficient to moisten the existing medium. Three days should be enough to reduce the impact of stress during the transfer. Once ready, remove the orchid from the old pot. Take note that you need a sterilized knife or scissors in trimming dead leaves and roots.
Sterilizing your tools will prevent your orchids from infectious diseases. Here is a video showing you the correct way of sterilizing garden tools.
Although it is common knowledge that orchids are sensitive plants and are delicate when it comes to transplanting, certain types such as Phalaenopsis Orchids are tough when it comes to repotting. Do you know that they can withstand the whole process without the risk of dying? I am even repotting Phalaenopsis orchids when in bloom and it is no big deal at all. But of course, being gentle and careful while doing so is required.
Here is a video that explains more about it.
Step 5: Transplanting an Orchid
How to divide an orchid?
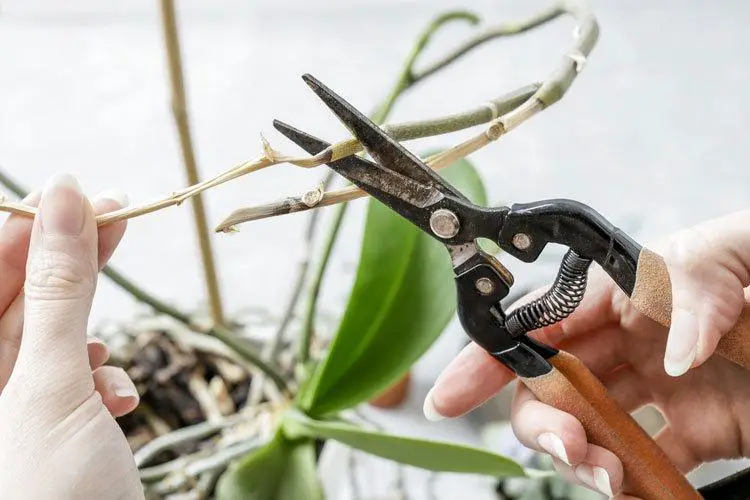
The practice of transplanting your orchids can be the best time or an opportunity to divide them. I say that dividing an orchid is also a reason that you need to transplant. This process is applicable to mature orchids (2-3 years) and are healthy to withstand the whole ordeal. I like dividing my orchids so it will multiply and enjoy watching them grow again to maturity.
Here is how:
Conclusion
How do you transplant an orchid? I bet I have explained to you in details on how to go about it the right way. Remember that taking care of your orchids does not stop at replanting. You need to give constant care to keep your babies blooming.
Whenever you see the need for repotting your orchids, I suggest doing so the soonest. When you transplant an orchid, it is similar to saving its life!

