How to Revive a Dying Orchid the Right Way
You will never know how sad I was when I saw my orchids starting to wither. I went out of town for weeks and trusted a friend to take care of my babies. Imagine the horror I felt when I saw them dying when I came back. They now look so raggedy with their leaves drooping and some turning to yellow.
How to revive a dying orchid? Giving up is not an option when it comes to saving my orchids.
Table of Contents
6 Ways to Revive a Dying Orchid
Know that orchids have a high rate of survival. It can thrive anywhere from deserts, coastlines, mountains, wetlands, and even underwater. However, without the correct balance of light, water, and humidity, your orchids will eventually die.
No matter how much you try, if you do not do it the right way, your orchids will not look healthy and will not grace you with blooms. Below are different rescue ideas. One of them may be what your orchids need if not all.
Here is what you need to do when your orchids need saving:
Make sure they have enough water.
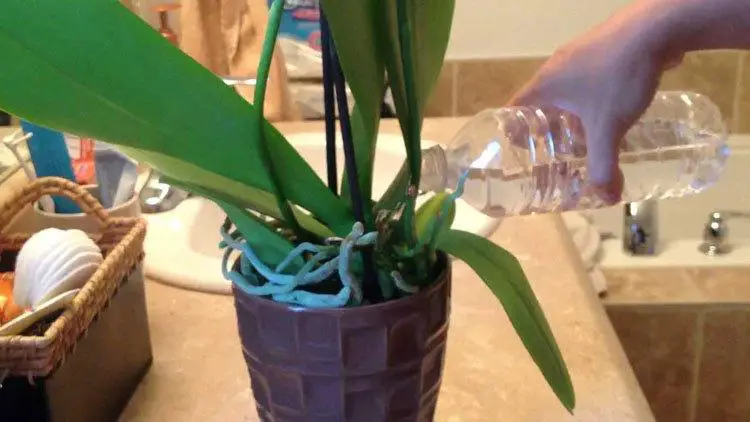
Know that orchids have a high rate of survival. It can thrive anywhere from deserts, coastlines, mountains, wetlands, and even underwater. However, without the correct balance of light, water, and humidity, your orchids will eventually die.
No matter how much you try, if you do not do it the right way, your orchids will not look healthy and will not grace you with blooms. Below are different rescue ideas. One of them may be what your orchids need if not all.
Here is what you need to do when your orchids need saving:
related Post
Make sure they have enough sunlight.
Maintain the right temperature.
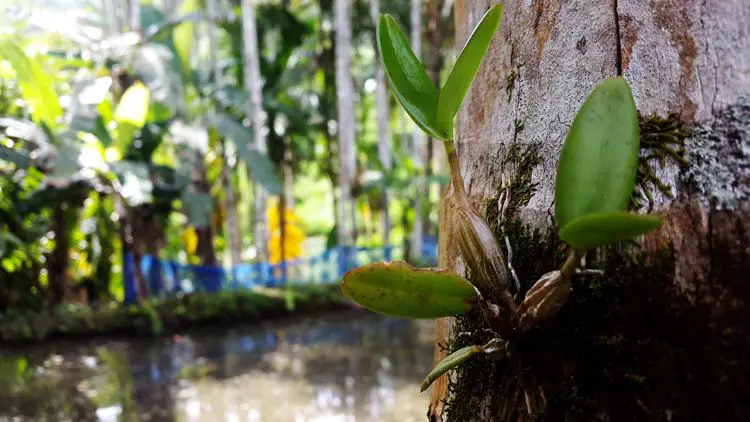


Take note of the temperature. When it is summer, orchids can tolerate around 70 degrees F. During colder days, maintain 60 degrees F at day and 50 degrees F at night. Orchids may be tough and survivors, but exposing them to extreme temperatures for a long time will kill them in due course.
Do some trimmings
Orchids need trimming too. If there are no blooms for weeks, remove the spikes. Remember to cut at the base of the stem in between the leaves.
Your orchids may need fertilizers.
Orchids need trimming too. If there are no blooms for weeks, remove the spikes. Remember to cut at the base of the stem in between the leaves.
Consider repotting
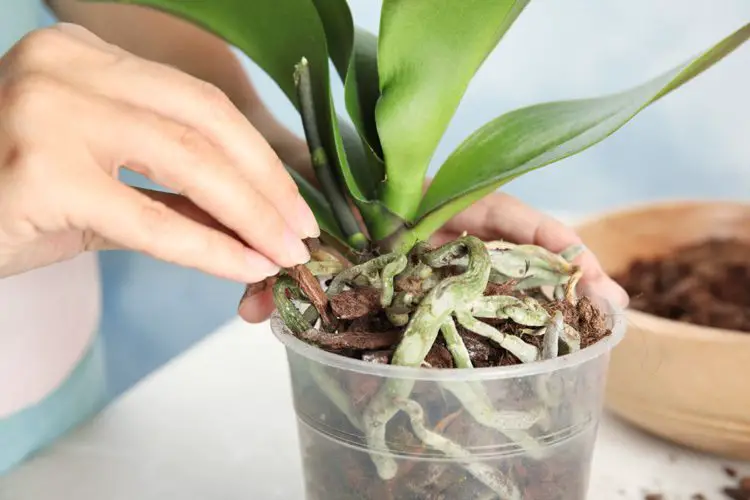


Repotting is usually my last resort. However, when I have tried all of the above and failed, repotting is my next step. Repotting needs more effort, care, and right timing.
Honestly, orchids must be left alone and recover when stressed. It is also risky to change the potting soil when the temperature is too cold. The best time to do so is during spring, that is, under normal circumstances. However, when your orchids are dying, I take it that you are desperate to keep them alive.
Here is what to do when you finally end up to repotting option:
Step 1: Prepare your potting soil
You must already have an idea about the potting mix that is suitable for your orchids. If not, ask help from the nursery or any experts that can guide you. I did mine with the help of Google (What? I do not have friends, just my orchids!)
If you are familiar with repotting, then you may know how to make your own mix. (I salute you!) Nevertheless, do you know how to prepare your potting mix? Preparing ahead will make them more useful in both draining and holding moisture.
Here are the steps:
Step 2: You are ready to start the repotting!
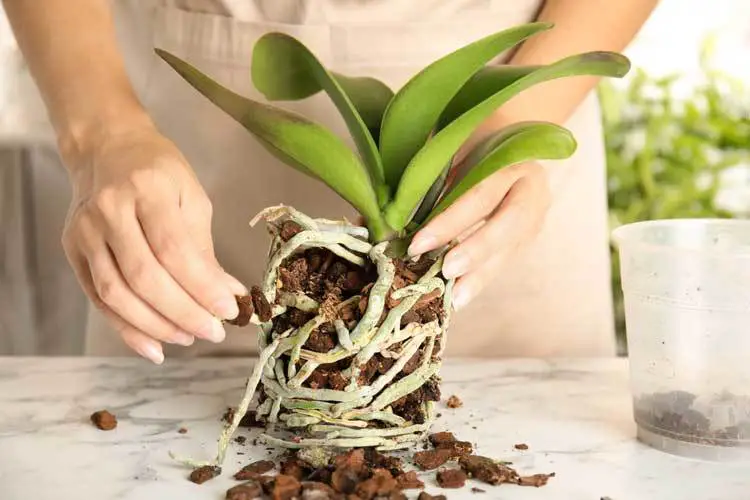


You only need your potting soil, orchid pots, a pair of scissors (knife and cutters will do), and some terracotta or Styrofoam.
Here are the steps:
If you need more assistance, check out this video. I hope it will give you more details:
CONCLUSION
Your orchids need the right temperature, mild sunshine, enough water, fertilizers, the suitable potting soil combination, and the right orchid pots size. However, even when you meet those factors in taking care of them, they will die if you do not give them time, commitment and love. You see, growing orchids are just raising your babies. Therefore, if you want to know how to revive a dying orchid, give your tender and loving care!

